

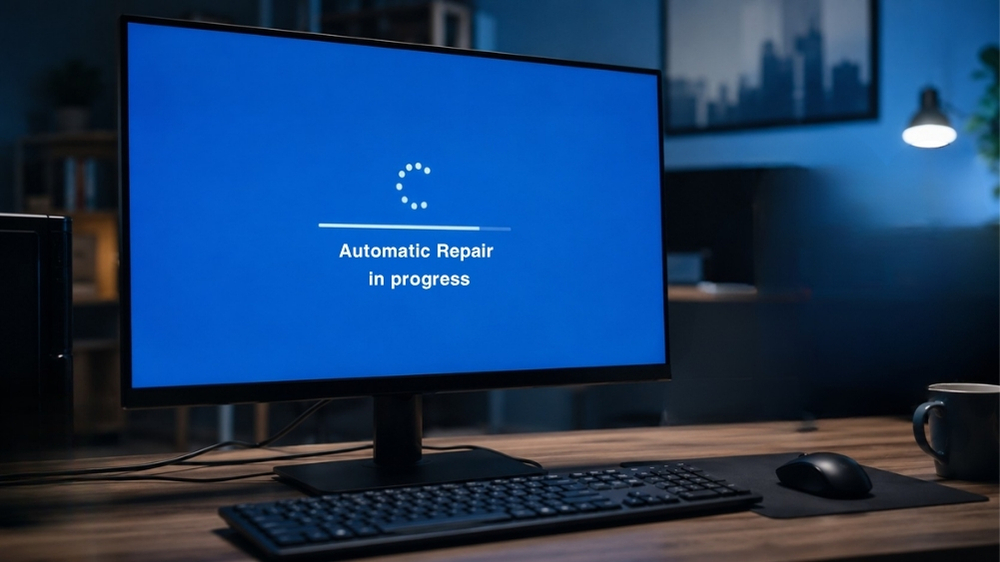
Nothing is more frustrating than turning on your PC only to see the Windows 11 “Preparing Automatic Repair” message appear again and again. Instead of loading Windows normally, your computer gets trapped in an endless repair loop, making it impossible to access your files, applications, or desktop.
This issue can happen after a failed Windows update, corrupted system files, damaged boot records, faulty drivers, or even hard drive problems. While it may seem like your computer is beyond repair, the good news is that, in most cases, you can fix the problem yourself without reinstalling Windows.
In this guide, we’ll explain why Windows 11 gets stuck on Preparing Automatic Repair and walk you through 10 proven solutions that actually work. Follow each method in order until your PC boots normally again.
Why Does Windows 11 Get Stuck on Preparing Automatic Repair?
Windows starts Automatic Repair when it detects that something prevents the operating system from booting correctly. Unfortunately, if the underlying problem isn’t resolved, Windows may repeatedly launch the repair process instead of starting normally.
Some of the most common causes include:
- Corrupted Windows system files
- Failed or incomplete Windows updates
- Damaged Boot Configuration Data (BCD)
- Corrupted Master Boot Record (MBR)
- Faulty device drivers
- Bad sectors or errors on the SSD/HDD
- Recently installed software causing startup conflicts
- Hardware issues such as failing storage drives or faulty RAM
Understanding the cause makes it much easier to choose the correct solution.
Fix 1: Force Restart Your Computer
Sometimes the repair loop is triggered by a temporary startup glitch. A complete power cycle can clear the issue.
Steps
- Hold the Power button for about 10 seconds until the PC shuts down.
- Wait around 30 seconds.
- Disconnect external devices such as:
- USB drives
- External hard disks
- Printers
- SD cards
- Turn your PC back on.
If Windows starts normally, the issue was likely caused by a temporary boot problem.
Tip: If your PC still enters the Automatic Repair loop after several restarts, continue to the next fix.
Fix 2: Boot into Safe Mode
Safe Mode starts Windows with only essential drivers and services. If your PC boots successfully in Safe Mode, a driver, startup application, or recent software installation is likely causing the problem.
Steps
- Let Windows enter the Automatic Repair screen.
- Select Advanced options.
- Click Troubleshoot.
- Choose Advanced options.
- Select Startup Settings.
- Click Restart.
- Press 4 or F4 to enter Safe Mode.
If Windows loads in Safe Mode:
- Uninstall recently installed programs.
- Remove recently installed drivers.
- Run Windows Update after the system becomes stable.
- Restart your computer normally.
If Safe Mode also fails, proceed to the next solution.
Coming Up :
- Fix 3: Run Startup Repair
- Fix 4: Repair corrupted system files using SFC and DISM
- Fix 5: Repair disk errors with CHKDSK
These are often the fixes that resolve the issue for most users.
Fix 3: Run Startup Repair
If Windows can’t boot because of damaged startup files, Startup Repair can automatically detect and fix common boot issues.
Steps
- On the Automatic Repair screen, click Advanced options.
- Select Troubleshoot.
- Click Advanced options.
- Choose Startup Repair.
- Select your Windows account if prompted.
- Enter your password and click Continue.
- Wait while Windows scans and repairs startup problems.
The repair process may take several minutes. Once it finishes, restart your PC and check if Windows boots normally.
Note: If Startup Repair reports that it couldn’t repair your PC, don’t worry—continue with the next fixes.
Fix 4: Repair Corrupted System Files Using SFC and DISM
Corrupted or missing system files are one of the most common reasons Windows enters the Automatic Repair loop. Running the System File Checker (SFC) and Deployment Image Servicing and Management (DISM) tools can restore damaged files.
Step 1: Open Command Prompt
- Go to Advanced options.
- Click Troubleshoot.
- Select Advanced options.
- Choose Command Prompt.
Your PC may restart and ask you to select an administrator account and enter its password.
Step 2: Run the SFC Scan
Type the following command and press Enter:
sfc /scannow /offbootdir=C:\ /offwindir=C:\WindowsTip: If Windows is installed on a different drive letter in the recovery environment, replace C: with the correct drive.
Wait for the scan to complete. It may take 15–30 minutes.
Step 3: Run the DISM Command
If SFC cannot repair all files, run:
DISM /Image:C:\ /Cleanup-Image /RestoreHealthAllow DISM to complete, then restart your computer.
Windows 11 Stuck on Restart? 10 Proven Fixes That Actually Work
Fix 5: Check Your Drive for Errors (CHKDSK)
File system corruption or bad sectors on your SSD or hard drive can prevent Windows from starting correctly. The CHKDSK utility scans the drive for errors and attempts to repair them.
Steps
Open Command Prompt from the recovery environment and type:
chkdsk C: /f /rThen press Enter.
Here’s what the parameters mean:
- /f – Fixes file system errors.
- /r – Locates bad sectors and recovers readable data.
The scan can take anywhere from a few minutes to several hours, depending on the size and condition of your drive.
Important: Do not interrupt the scan while it’s running.
After CHKDSK finishes, restart your PC and see if Windows boots successfully.
Pro Tip
If CHKDSK reports many bad sectors or repeatedly finds new disk errors, your storage drive may be failing. In that case:
- Back up your important data as soon as possible (if you can access it).
- Consider replacing the SSD or HDD before the problem worsens.
Coming Up :
- Fix 6: Rebuild the Boot Configuration Data (BCD)
- Fix 7: Uninstall recent Windows updates
- Fix 8: Perform System Restore
These methods are especially effective when the issue started after a Windows update or changes to system files.
Fix 6: Boot Configuration Data (BCD)
The Boot Configuration Data (BCD) tells Windows how to start your operating system. If it becomes corrupted or goes missing, Windows may repeatedly display the Preparing Automatic Repair screen instead of booting normally.
Steps
- Open Command Prompt from Advanced options.
- Run the following commands one at a time, pressing Enter after each:
bootrec /fixmbrbootrec /fixbootbootrec /scanosbootrec /rebuildbcd- If Windows installation is found, type Y and press Enter to add it to the boot list.
- Restart your computer.
Note: If you receive an “Access is denied” error while running
bootrec /fixboot, you may need additional steps depending on whether your system uses UEFI or Legacy BIOS. For most users, the remaining fixes below are worth trying first.
Fix 7: Uninstall the Latest Windows Update
Sometimes a faulty Windows update can cause startup problems. Removing the most recent update may restore normal boot functionality.
Steps
- Go to Advanced options.
- Select Troubleshoot.
- Click Advanced options.
- Choose Uninstall Updates.
- You’ll see two options:
- Uninstall latest quality update
- Uninstall latest feature update
- Start by uninstalling the latest quality update, as it’s the most common cause of startup issues.
- Restart your PC.
If the issue persists and it started after a major Windows upgrade, you can also try uninstalling the latest feature update.
Tip: Once your PC is working again, pause Windows Updates for a short time until Microsoft releases any necessary fixes.
Fix 8: Use System Restore
If you’ve previously created a restore point—or Windows created one automatically before installing updates or drivers—you can roll your system back to a time when it was working correctly.
System Restore does not delete your personal files, but it can remove recently installed apps, drivers, or updates.
Steps
- Open Advanced options.
- Click System Restore.
- Select your administrator account and enter your password if prompted.
- Choose a restore point created before the problem started.
- Click Next and then Finish.
- Wait for Windows to complete the restoration.
Your computer will restart automatically after the process finishes.
Good to know: If no restore points are available, proceed to the next fix.
When Should You Use These Fixes?
These methods are especially useful if:
- The issue started immediately after installing a Windows update.
- You recently installed a new driver.
- You changed boot settings.
- Your PC shut down unexpectedly during an update.
- Startup Repair couldn’t fix the problem.
If none of these methods resolve the issue, don’t worry—the final section includes the last two solutions, which often work when everything else has failed.
In the final part, we’ll cover:
- Fix 9: Reset Windows 11 without losing your personal files
- Fix 10: Check for hardware problems (SSD/HDD and RAM)
Fix 9: Reset Windows 11 (Keep Your Personal Files)
If none of the previous fixes work, resetting Windows can repair deeply corrupted system files while allowing you to keep your personal documents, photos, and videos.
Important: Although the Keep my files option preserves your personal files, it removes installed apps and resets system settings. It’s still a good idea to back up important data if possible.
Steps
- Open Advanced options.
- Select Troubleshoot.
- Click Reset this PC.
- Choose Keep my files.
- Follow the on-screen instructions to complete the reset.
- Wait for Windows to reinstall and restart your PC.
After the reset, reinstall any apps you need and check for Windows updates.
Fix 10: Check for Hardware Problems
If Windows keeps getting stuck on “Preparing Automatic Repair” after trying all software-based fixes, the problem could be hardware-related.
1. Check Your SSD or HDD
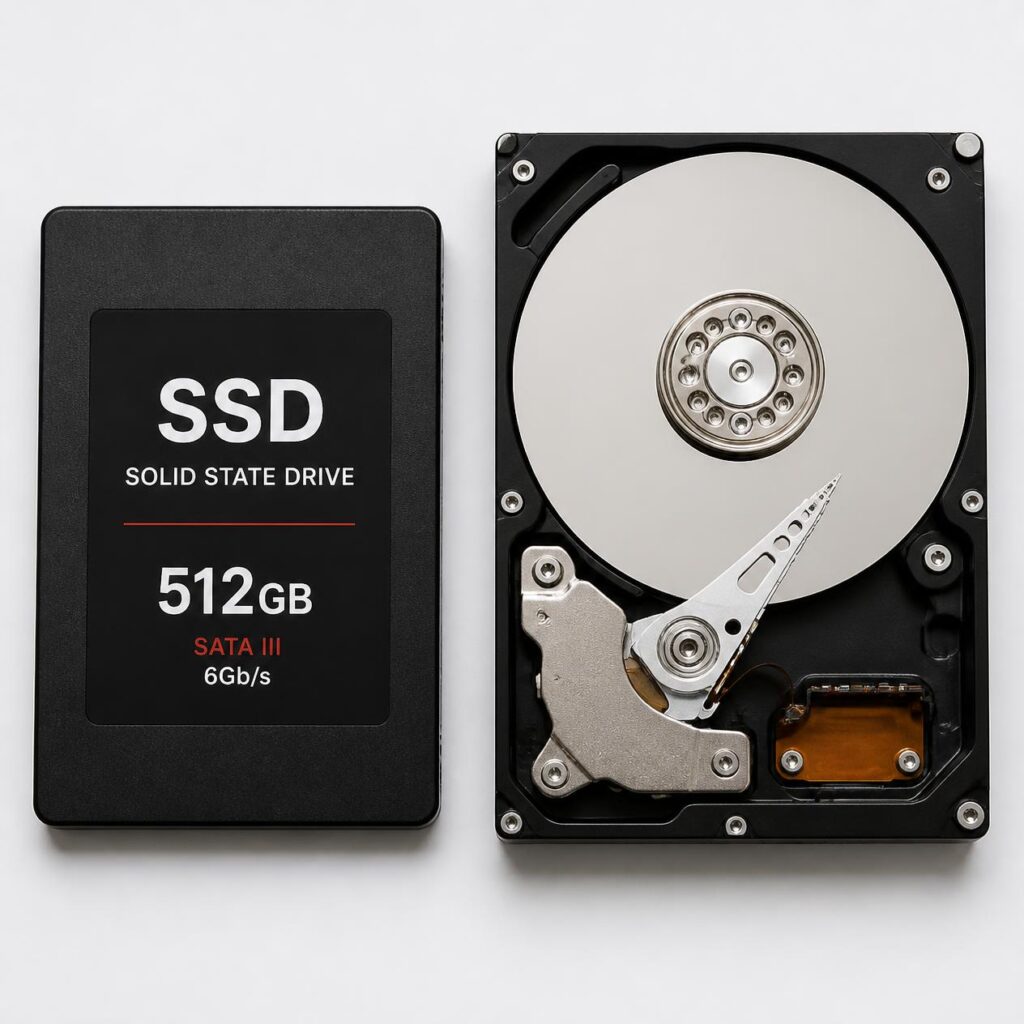
A failing storage drive can prevent Windows from reading essential startup files.
Signs of a failing drive include:
- Clicking or unusual noises (HDDs)
- Frequent crashes or freezes
- Extremely slow boot times
- Disk errors that keep returning after repairs
If you suspect drive failure, replace the SSD or HDD as soon as possible.
2. Test Your RAM

Faulty memory can also cause boot loops and startup failures.
To check your RAM:
- Open Windows Memory Diagnostic (if Windows becomes accessible).
- Restart your PC and let the test complete.
If you have multiple RAM sticks, try booting with one stick installed at a time to identify a faulty module.
3. Disconnect Recently Added Hardware
If you recently installed new hardware such as:
- RAM
- SSD
- Graphics card
- USB devices
- Expansion cards
Remove or temporarily disconnect it, then try booting again.
Frequently Asked Questions (FAQs)
Why is Windows 11 stuck on Preparing Automatic Repair?
This usually happens because of corrupted system files, failed Windows updates, damaged boot configuration data, disk errors, or faulty hardware. Windows detects a startup problem and repeatedly attempts to repair it but cannot complete the process.
Can I fix the Automatic Repair loop without reinstalling Windows?
Yes. In many cases, you can fix the issue by using Startup Repair, Safe Mode, SFC, DISM, CHKDSK, rebuilding the BCD, uninstalling recent updates, or performing System Restore. Reinstalling Windows should be considered only after other methods have failed.
Will resetting Windows delete my files?
If you choose Keep my files during the reset process, your personal files remain intact. However, installed applications, drivers, and customized settings will be removed.
What causes Automatic Repair to fail repeatedly?
Common causes include:
- Corrupted Windows system files
- Failed Windows updates
- Damaged boot records
- Hard drive or SSD errors
- Faulty RAM
- Driver conflicts
- Unexpected power loss during updates
For official Windows support, visit: Microsoft Windows Help
This is especially useful if the update is known to be problematic. Microsoft recently pulled and replaced several faulty updates.
For more troubleshooting guides, visit Techmart. Study our policies on the Contact Us and About Us pages on our website.
Final Thoughts
Getting stuck on the Preparing Automatic Repair screen can be frustrating, but it doesn’t always mean Windows needs to be reinstalled. In most cases, the issue can be resolved using built-in recovery tools such as Startup Repair, Safe Mode, SFC, DISM, CHKDSK, or System Restore.
If software repairs don’t solve the problem, checking your storage drive and memory can help identify hardware-related issues before they become more serious.
Work through the fixes in order, and you’ll have the best chance of getting your Windows 11 PC running again without losing your important data.